Showing posts with label DIY. Show all posts

Sunday, July 15, 2018

Sensory Sunday - Slime DIY


It’s been a long time since doing a Sensory Sunday. But we’re back and we are going to make some slime? I really like this sensory project because it’s super easy and fun for all ages. I'm going toshow you two fun ways to make your slime.


Here is what you are going to need for your Galaxy Slime;
πŸ’š4oz or 1/2 cup of white glue
πŸ’š1/2 cup of shaving cream
πŸ’š Fine holoraphic glitter
πŸ’šChunky holographic glitter
πŸ’šBlack and teal food coloring
πŸ’š1 tsp of borax
πŸ’š1 cup of water
πŸ’šSmall Jar to store your slime

First, in a small bowl combine the water and borax, then set aside. You can microwave for 30 second to help combine the borax/water mixture faster. Then, in a medium size bowl add your glue. Try and get all the glue out into the bowl by squeezing and flentening the bottle. You can now add your shaving creame, and glitter, then stir until all combined.  At this point you can add whatever fun items to make your slime unique (combuches, different size beads, buttons, charms, etc.). Now you’re ready to add your water borax mixture. This mixture is what turns your glue into slime. Start with 1 tbsp at a time and you can continue to add while you nead your slime. Once your slime is no longer sticky separate it into 3 piles. Add a few drops of your black foodcoloring to one pile and a few trops of your teal to the other. nead the slime until the coloring has been combined. This can get messy so you can use gloves to keep your hands clean. Now that everything is colored it's read to play with. **Remenber never leave your little one alone with the slime or the ingrediants.**


Here is what you are going to need for your green Nickelodeon Slime;
πŸ’š4oz or 1/2 cup of clear glue
πŸ’š Neon Green Glitter
πŸ’šRainbow Beads
πŸ’š1 tsp of borax
πŸ’š1 cup of water
πŸ’šSmall Jar to store your slime

First, in a small bowl combine the water and borax, then set aside. You can microwave for 30 second to help combine the borax/water mixture faster. Then, in a medium size bowl add your glue. Try and get all the glue out into the bowl by squeezing and flentening the bottle. You can now add your glitter and beads, then stir until all combined.  At this point you can add whatever fun items to make your slime unique (combuches, different size beads, buttons, charms, etc.). Now you’re ready to add your water borax mixture. This mixture is what turns your glue into slime. Start with 1 tbsp at a time and you can continue to add while you nead your slime. Once your slime is no longer sticky it's read to play with. **Remenber never leave your little one alone with the slime or the ingrediants.**


Hope you enjoyed this edition of Sensory Sunday!

Don't forget to follow my blog by clicking the Follow button at the bottom. Also, you can follow me on Facebook @Veggiemomster and on Instagram @Theveggiemomster.

Friday, November 3, 2017

Hocus Pocus Spell Book DIY


For an awesome fall crafting DIY, I made a replica of the spell book from the beloved movie Hocus Pocus. There are a few things I would have done different so I'll let you know what they are.The pictures are from the way I had done this project so rather than follow the pictures ready what I wrote. Obviously, I was still successful with they why I had made it but I could have been easier.

The first thing is to ensure you have all your supplies. I was winging this project so I did not get all my supplies until a day after I started.

What you will need
-A hardcover think book. I used a copy of Harry Potter and the Deathly Hallows
-modeling clay
-brown, black, white, green, and silver paint
-fake fingers
-skeleton hand
-black tea
-bin for soaking the book in
-yellow gem
-glue gun
-hair dryer

The first you'll want to make about 5 cups of tea and add it to the bin. Soak your book for 5-10 mins. After it is done soaking squeeze out as much excess water as you can. Then using the blow dryer get it as dry as you can. I would dry for about 2 minutes then let it still for about 5-10 minutes and repeat. Let your book dry overnight before moving on to the next steps.

While your book it drying you can start on your clay pieces. I made 4 pretzel snakes by rolling out a piece of clay about the size of my fist. I made one end a little large for the snake’s head. I then wrapped it in a pretzel to match the original book.  I then make 2 more snakes that were in a wavy pattern. Then the lock and eye. I baked these in the oven according to the directions.

When the pieces are all baked and cooled down you can start painting them. When I did this I painted the pieces after I glued them on the book and this made it very difficult.

The next day when you book is almost dried you can start painting. First, start by painting the entire book brown. You will need to take breaks in between while you wait for things to dry. When everything is dry and you have painted the entire book you can start gluing on the clay pieces. Start with the front. I used a glue gun to accomplish this. Once all the clay pieces are glued on you can move on to gluing to the fingers. Take 4 fingers and glue the opening where you would put your finger together. I used a glue gun to accomplish this. Then paint the fingers brown. While you let them dry you can work on the skeleton hand. I had no luck finding a skeleton hand that had joints so I had to make due. I was able to find skeleton serving tongs that I was able to break then glue together at an angle. I found these things at dollar tree so it was worth the extra work. Then you will want to paint the hand silver. Once the fingers are dry you can glue them along the binding of the book. Then glue the hand on the back.

Once all the pieces are glued in you can start working on the details. On the real book, it looked as though sink was sewn together to make the cover. So I took my glue gun and made wonky lines on the front back and binding. I then make smaller crosses to mimic the thread that stitched the cover together. I painted them all brown at first. Again once the paint was dry I took a dry brush and a little bit of black paint and start to dry brush the black paint on the “thread” to make it look more realistic.
Now for the eye, using the glue gun start adding glue to the clay eye piece to make it look like it has eyelids. Then make sure to add glue around the eye to make it look like puffy loose skin. You can now paint the eye. I mixed a tiny bit of brown with the white to make the eye look older. The. Using a light green and brown I gave the eye a hazel color. Then using black I created the pupil. Make sure you let them paint dry after each step so the colors won't mix. After the eye is dry you can paint the eyelid and extras skin brown.

I added more black detailing to the book to make it also look old. Make sure you let the paint dry completely before moving on to another color like gold or metallic silver.

Once you are done adding the detail paint to get the book an old and worn look just let it dry. Now you can create a spooky table with your book in the center. Using a picture stand will give it a great look. Tune back into my blog we're we are going to create a spooky witches bottle out of a growler.


Don't forget to follow me on Instagram @theveggiemomster and Facebook veggiemomster.

Wednesday, June 21, 2017

Taking Photo's of you Little One - Flag Day Contest


Flag Day Photo Contest

So this week Sephira is in a photo contest. So I figured I would do a blog post on how to get an adorable photo of your LO. There are a few things you should always have handy for taking cute photos. Number one is a backdrop. For this, I usually use 1-2 yards faux fur fabric. This is great for laying your little one on. Don't worry about getting outside objects or backgrounds in the photo since they can always be cropped out. For the colors of the fur make sure you have black, white and cream always on had. These colors go with everything and you won't feel like you have to purchase a different color for each shoot. Another item that helps make positioning your little one easier especially for ones who can set up yet is a basket of some kind.  Again have a neutral color and/or print like chevron is great for most of your photo. With the fur, you can just lay it on a couch, bed, pillows, co-sleeper, or floor. You can also place it in the basket with the fur sticking out. Again this helps prop up little ones that can't quite sit up on their own. If you just want to use the basket and no fur you can try a towel, face cloths or cloth diapers to help prop your baby up. 
Use a Chevron basket to prop up your little one.
Something that also makes picture taking fun is props. These could be anything from holiday decorations to baby toys/stuffed animals. One thing to keep in mind with props is if you're not using these props outside of your pictures they can pile up. So using fresh flowers can cut down on the hoarding of props.


Now to my favorite part, dressing your baby. For newborn pictures having some cute bows is always a must. Again always have bows or bow ties in neutral colors black, white and cream. If you know that you are going to be taking lots of pictures red, orange, yellow, green, blue and purple are great to have in hand. When purchasing bows I always try to get head wraps. They can be a bit more pricey but they will grow with your baby. This way you are getting good quality and more pictures out of them. I purchase my head wraps from HelloMissGorgeous on Esty. They are great quality and they ship fast. 
Black Headwrap from HelloMissGorgous
If you're like me and love cute outfits then here are some of my favorite sellers on Esty that sell the sweetest outfits and accessories for photo shoots BBOWSBOUTIQUE, HelloMissGorgous, SofiaandBelle, NordeensBabyCouture, BabySquishyCheeks, BowtifulSoul, CandyFacesShop, and Katescouturedesign. If you are looking for cheaper more generic options then Amazon Prime always has options for not just clothes and accessories, but also baby photo props like faux fur, wrap blankets and cute accessories. Though I get my fur from Distinctivefabric.com. 
Onesie From BabySquishyCheeks and Shorts from CandyFacesShop

Headwrap from HelloMissGorgous

Headwrap from HelloMissGorgous and Fur from Distinctivefabric.com

For editing photo's there are 3 apps that I like to use. PS Express (free), FotoRus (Free with in app purchases) and Union ($1.99). Union has to be my favorite because you can have a photo of your LO and completely remove the background and replace it with whatever you want. PS Express is good for erasing minor blemishes. FotoRus is also good for blemishes and has some other crazy options to add makeup to your face. This is one of those in app purchases though.

If you like this post and I gave you a few ideas for photographing your LO then please share this with other moms. Also Please go to the link and like my Little Girl's photo on the Brady Sullivan Facebook Page so we can win! Thanks so much for reading!

Link to photo: Flag Day Contest

Friday, March 31, 2017

Fast Fun Friday - Ribbons


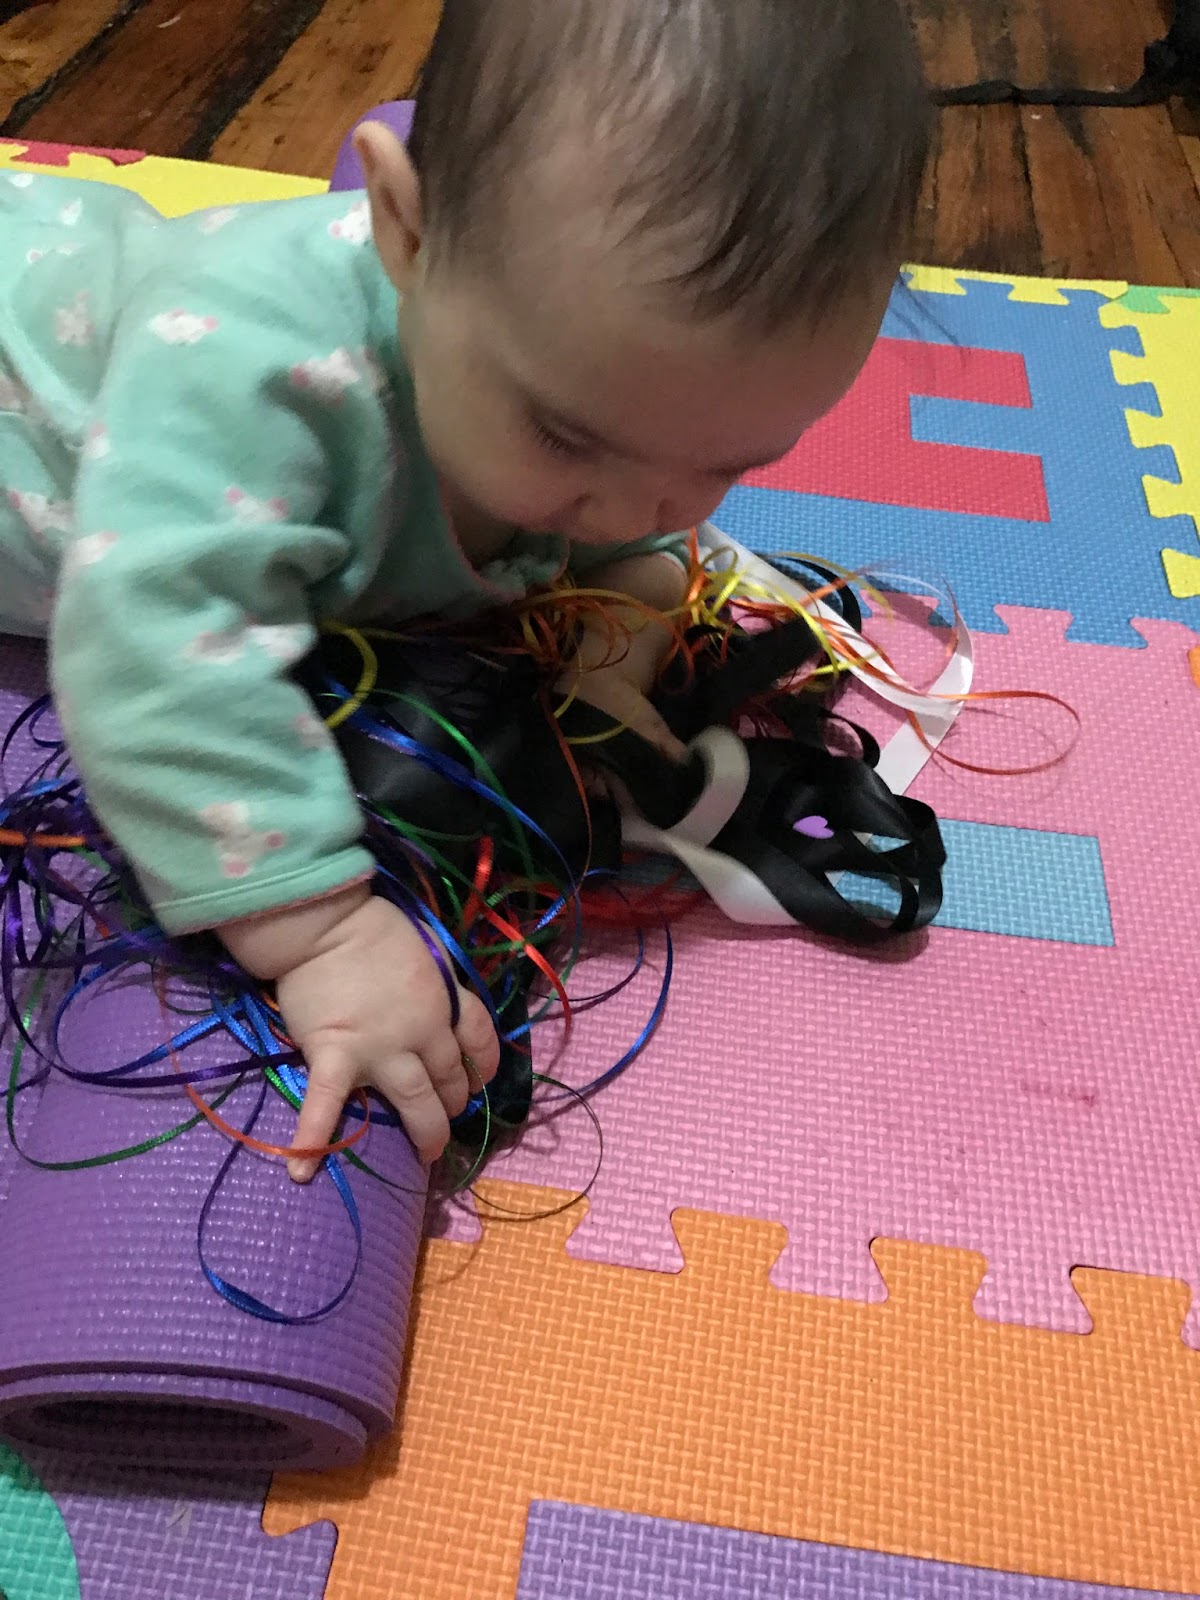
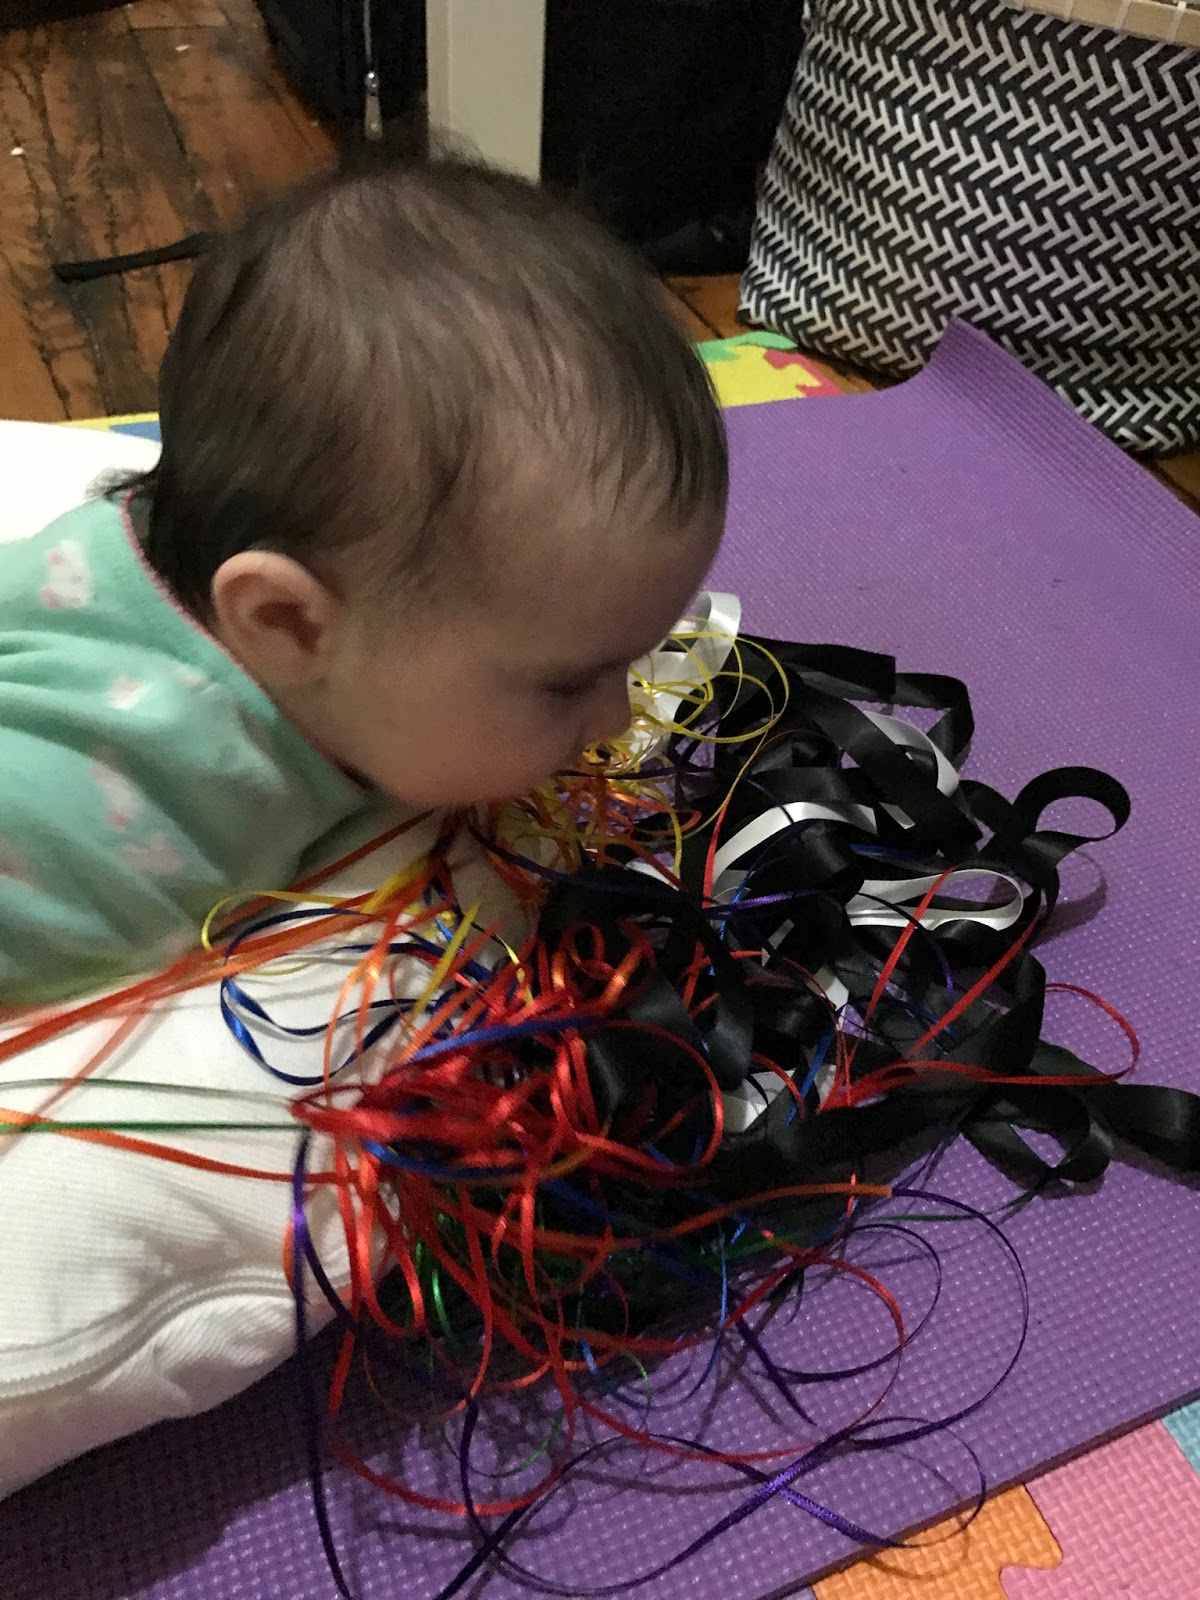
A great sensory play time is using different types of ribbon. There are so many types of colors, texture, and sizes. Because the ribbon is thin they will be great for baby's fine motor skills. I came up with this idea after my LO's 6-month photo. She was so interested in playing with the ribbon I used for the rainbow.  I alway try to have something that is a part of my LO's photos that will keep her attention and keep her happy. I also like this project because you can keep the ribbon in a plastic bag and use it again. Also, you can add more ribbon as time goes on. This will keep it interesting for your LO. You can add scraps of ribbon you may have from different projects, so they do not go to waste.

What you will need;
πŸ’œ Different color, texture and size ribbon
I'm using some thin red, orange, yellow, green, blue and purple ribbon. Then some thinker black and white ribbon.


For this project, I just propped my LO with a rolled up yoga mat and DockATot and placed the entangled ribbon.

Do not leave your LO alone with the ribbon because this could be extremely dangerous if they get too tangled.

Don't forget to follow my blog by clicking the Follow button at the bottom. Also, you can follow me on Facebook @Veggiemomster and on Instagram @Theveggiemomster.

Sunday, March 26, 2017

Baby Shirt Tutorial


Today we are going to make a cute Easter shirt. This is a great project for when you are strapped for cash bust still want a super adorable outfit for a party, photo shoot, or just for every day.  I used a sewing machine to make the process go a bit faster, but if you have the time and patience then you can use a hand needle and thread.

What you will need for this project;
πŸ’› Fabric, of your choice (I choose broadcloth with an Easter print that I got from Hobby Lobby
. Broadcloth is extremely easy to work with especially if this is your first time sewing.
πŸ’› Thread
πŸ’› Sewing machine or hand needle
πŸ’› Scissors
πŸ’› Tape Measure
πŸ’› Iron
πŸ’› Pins
πŸ’› Snap Closure or Elastic
πŸ’› Any extra embellishments (optional)
πŸ’› Double Folded BiasTape (optional)

First, you want to measure your baby's chest, you will need a tape measure to do this. With you baby lying down wrap the tape measure around their chest. For my LO I got 19inches. I added an extra inch for seam allowance. I then with my fabric I cut 2 identical pieces. This will be the front and back of your shirt. For mine, the top measurement of the pieces is 10, the bottom is 18 and each side is 9. The 10 comes from half of my LO's chest measurement. The bottom was 4 inches longer on each side than the top (10+4+4=18). The sides came from how long I wanted the shirt to come down plus an inch for seam allowance.  After measuring out your fabric you should come out with a trapezoid. Cut 2 trapezoids with the same dimensions.

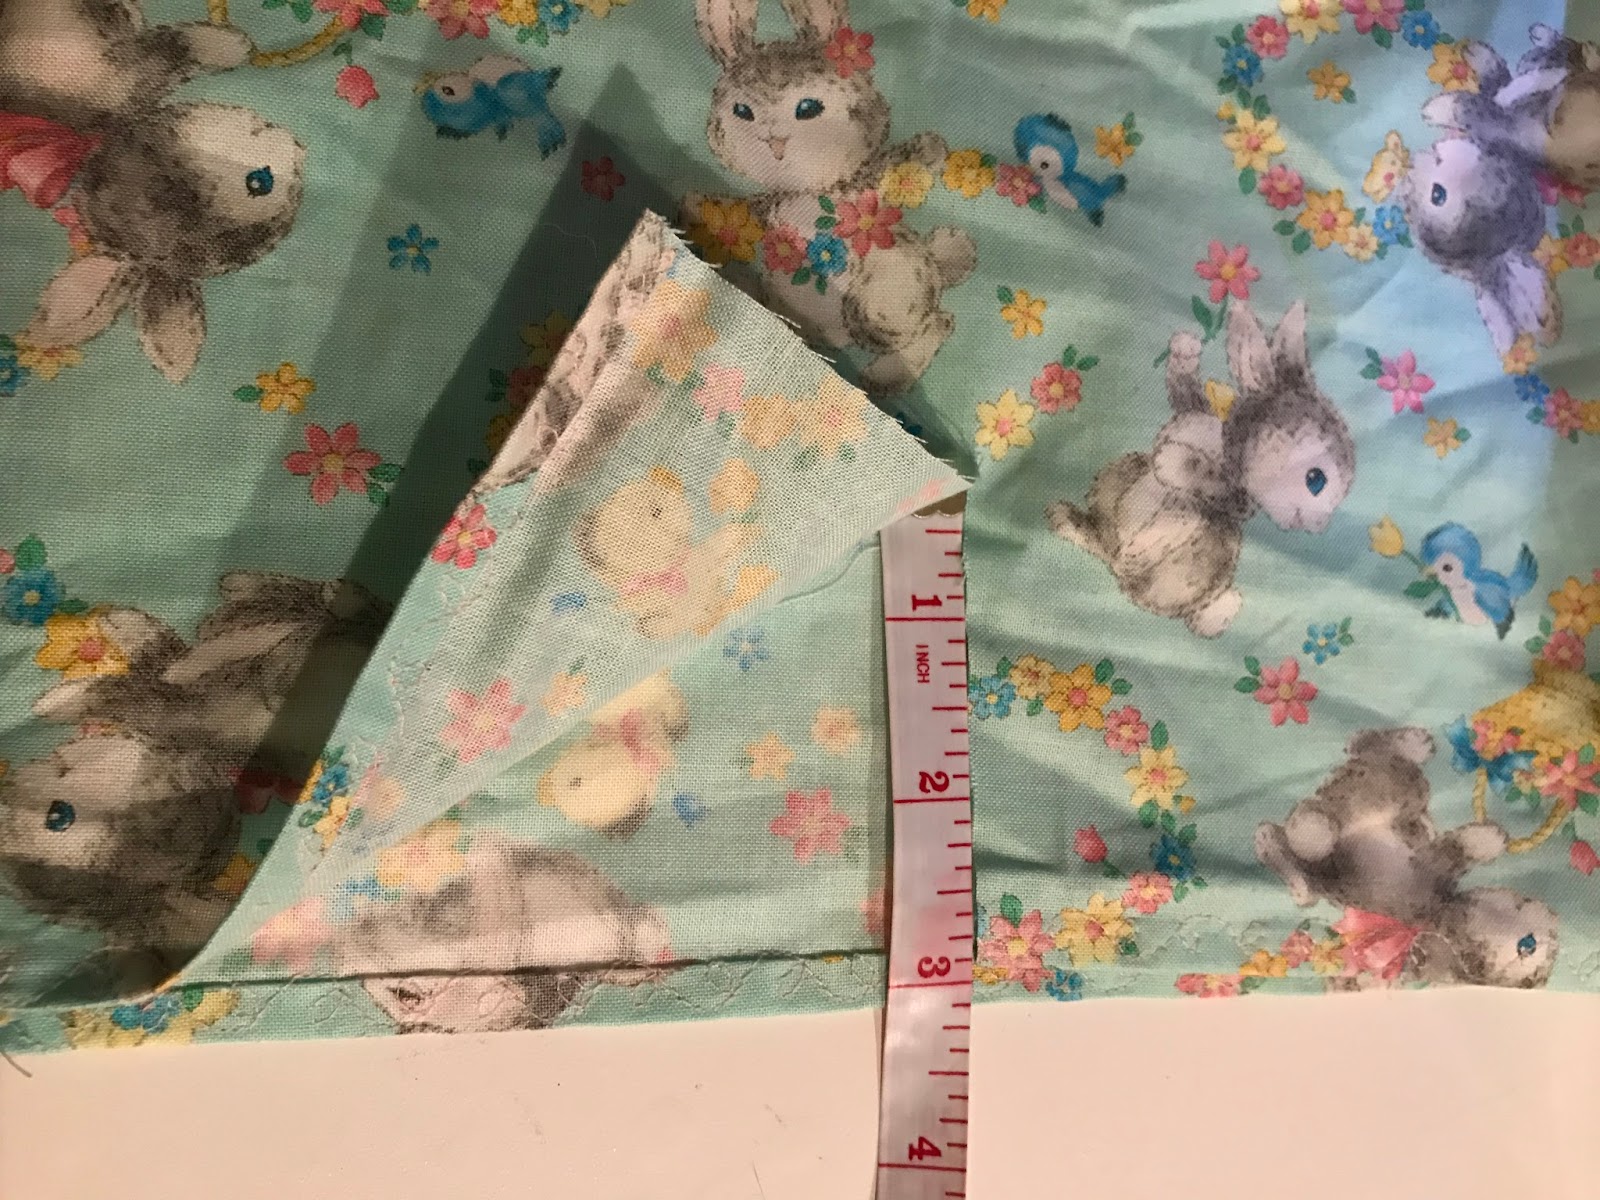
Now we are going to finish our edges. You can use double folded bias tape or you can double fold the fabric like I did and use an iron to make your creases before sewing. If you are using an iron make sure your fabric can withstand the heat and won't melt. First, you want to fold over your bottom edge of your first trapezoid and iron that down. Then fold it over again so you can longer see the rough edge and iron that down. Repeat this for just the top and bottom edges of both of your trapezoids (NOT the sides).
One Fold
2nd Fold


Now to sew those sides down. I have a Singer Patchwork machine so I chose a cute leaf stitch but any stitch will work for this. Taking your machine or needle and thread tack down the sides you just ironed.

Once that is complete you can sew your 2 pieces together. Make sure you place your fabric with the print side facing each other before sewing. This is so when you sew your pieces, the seams are on the inside of the shirt. Pin them together, then using your machine or needle and thread sew the 2 raw edges together.


Once the 2 pieces are sewn together you can take the pins out and turn it right side out. now its time to add your closure. I'm suing some sew on snaps. The fist thing you want to do is decide what side you want to be the front. Then at the top of the back piece right in the middle cut it down 3 inches.

The like we did in the beginning, fold the raw edges down twice, iron, then sew to finish your seam.

This is a good time to try it on your little once to see where you need to add your closure. Once you add your closure you are done. If you want you can also add some embellishments to finish it off. I have this crystal button that I added to hide the stitching from the closure.


For bottoms, I took bloomers from another outfit or you can purchase some really nice cheap ones from NordeensBabyCouture. They have them in every color and they are really soft.

I hope this was a fun and easy project that gave you an opportunity to get creative and save some money.

Don't forget to follow my blog by clicking the Follow button at the bottom. Also, you can follow me on Facebook @Veggiemomster and on Instagram @Theveggiemomster.